Introduction: Menu Setting
Read Time:57 Second
 At the end of this topic, you will be able to:
🔹Navigate to Menu Setting page
🔹Start editing categories and items
How to go to Menu Setting page
[1] Main screen > Click  > Click
[2] Menu Setting page will appear.

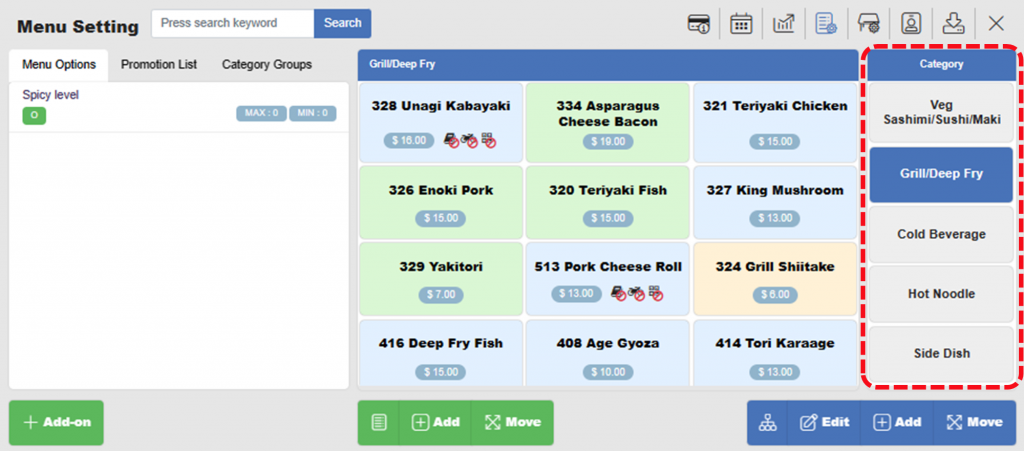
Exploring Menu Setting: Category and Item
NPOS uses Category and Item to organize menu.
- Category is a group of items that shares certain characteristics. Examples are Hot Noodle, Alcohol, Cold Beverage, and etc.
- Item is a food & beverage (or product) you want to sell. Items must be assigned to a Category. For example, Udon can be assigned to Hot Noodle, Coke can be assigned to Cold Beverage.
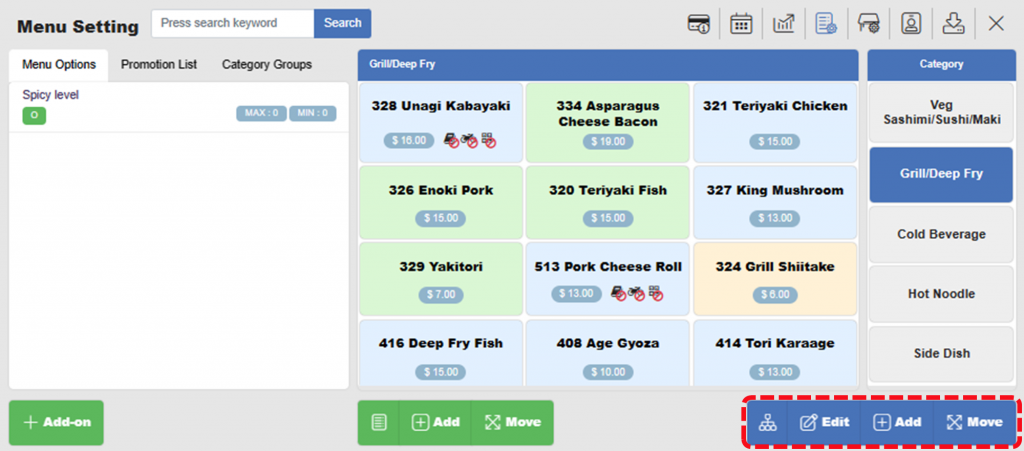
On Menu Setting page, Categories are shown on the right-hand side.
You can customize Category with Edit  , Add
, Add  , and Move
  buttons on the right bottom corner.
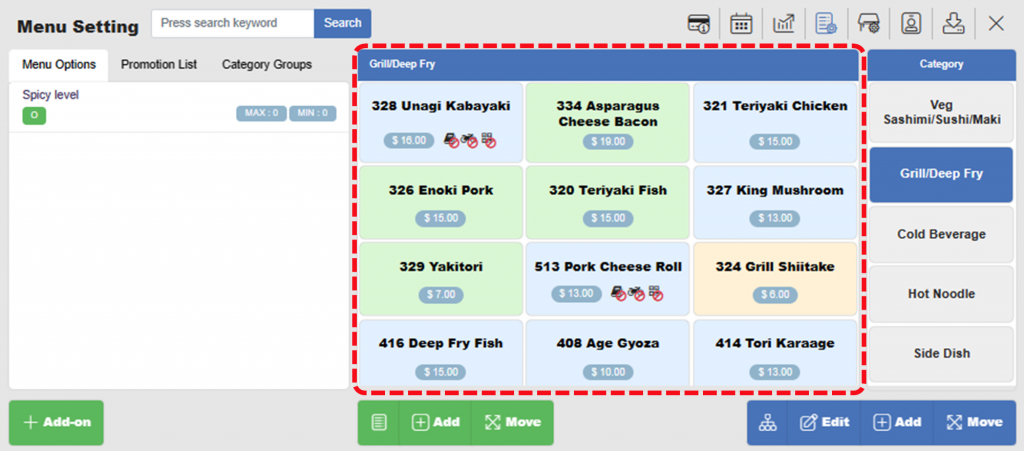
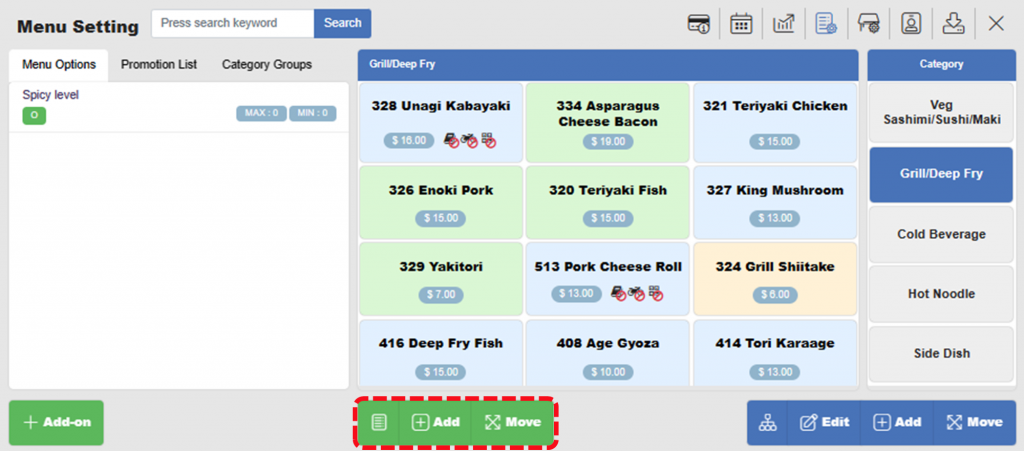
Items are shown in the middle. In the example, we selected Grill/Deep Fry category and items belong to the category appeared on the screen.
You can customize Items with Add and Move buttons below.
Related pages
◀️ Go back to NPOS Customization
◀️ Go back to NPOS Manual
Last updated 31 Dec 2022

Happy
0 %
Sad
0 %
Excited
100 %
Sleepy
0 %
Angry
0 %
Surprise
0 %
2 Replies to “Introduction: Menu Setting”