Place Orders to Seats
| At the end of this topic, you will be able to: ◾Assign orders to seats or guests |
Imagine you received one group of guests, total five, and they ordered different menus. Now it’s time to serve food to the guest, but you may not sure what menu each guest ordered. One way is that you ask guests which one is for which guest each time you serve, or use Assign Orders to Seats.
Assign orders to seats
| Notes: To use this feature, Assign Orders to Seat must be turned on in Detail Setting > NPOS Setting > Assign Orders to Seat. |
[1] Click a table to order. For demonstration, Table 3 is selected.

Note that the table capacity is shown under the table name. Table 3 is showing  2 which indicates the table is for maximum two guests.
[2] In Order screen, seat numbers are shown on the right. Click  1 to order menu for seat 1 (or guest 1).
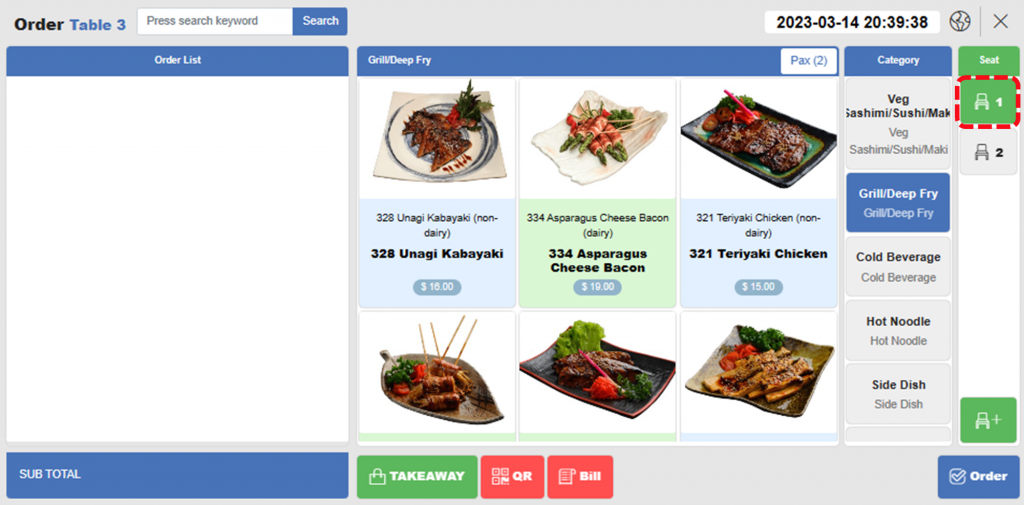
| Notes Two seats are shown by default because the selected table’s capacity was 2. If you selected the table with 5 capacity, 5 seats will be shown by default. Also, you can add seats by clicking +. |
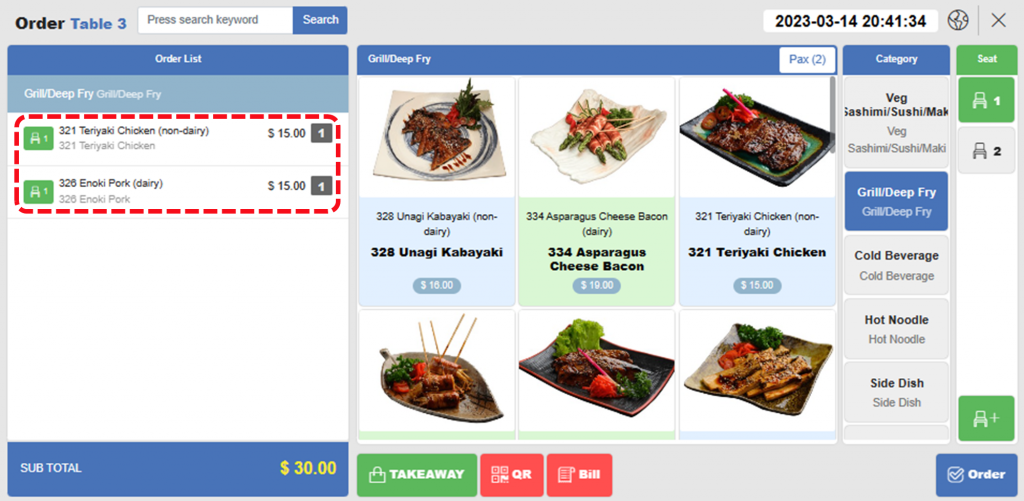
[3] Click items to order for seat 1 (guest 1).
[4] Repeat [2]~[3] for seat 2 (guest 2).
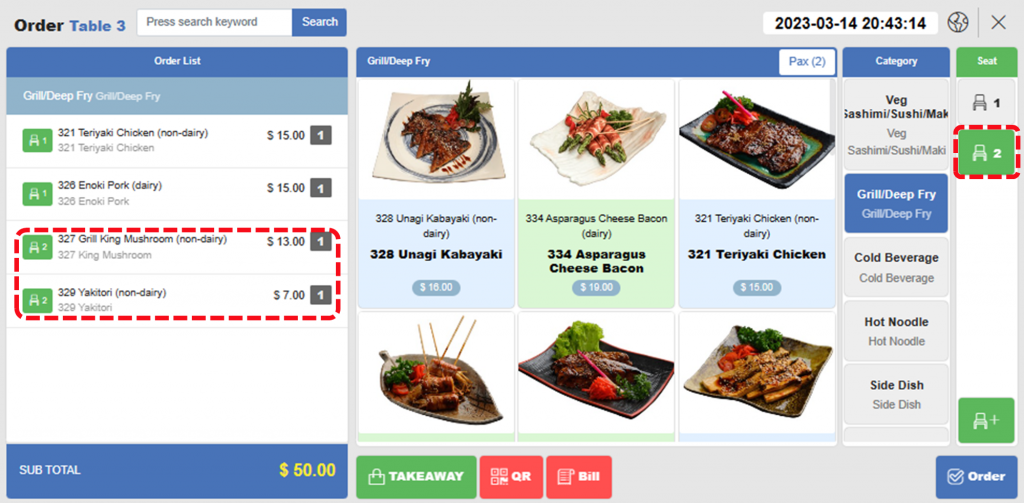
[5] Click  Order to complete order. Seat number along with ordered menu will be printed in order chit.
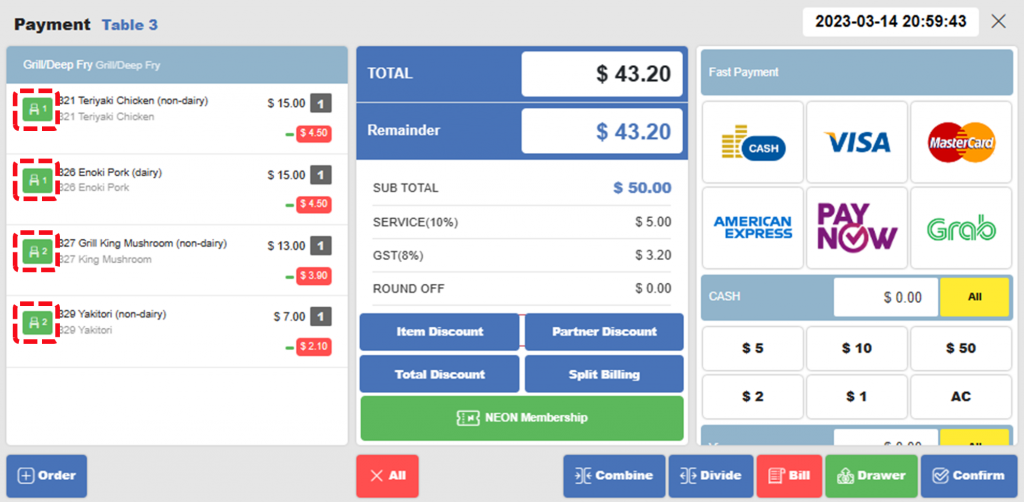
Now orders are completed. On Payment screen, when you take payments later, seat number will be shown along with menu item.
Related pages
◀️ Go back to NPOS Guide for Front Staff
Created on 08 Mar 2023

One Reply to “Place Orders to Seats”