Preparation
| Goal: Set up basic information of restaurants. |
Now we have our own page in NEON. Before we go into details, we need to update and make sure our restaurant information is correct. Let’s take the following steps.
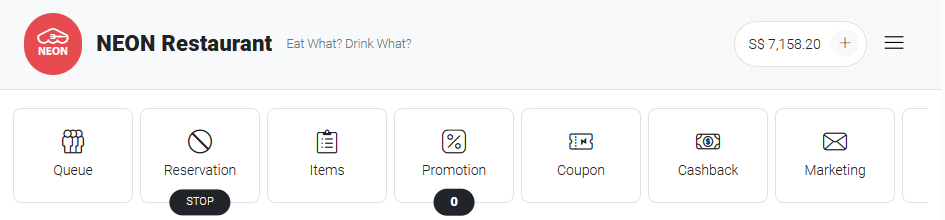
[1] Log in to NEON. Once successfully log in, you will be brought to the main page.
[2] On the main page, your restaurants name is shown on the top. Second line shows range of service you can use on NEON – Queue, Reservation, and more. We will walk you through it later.
[3] Scroll down to Basic Information. Make sure the information is correct.
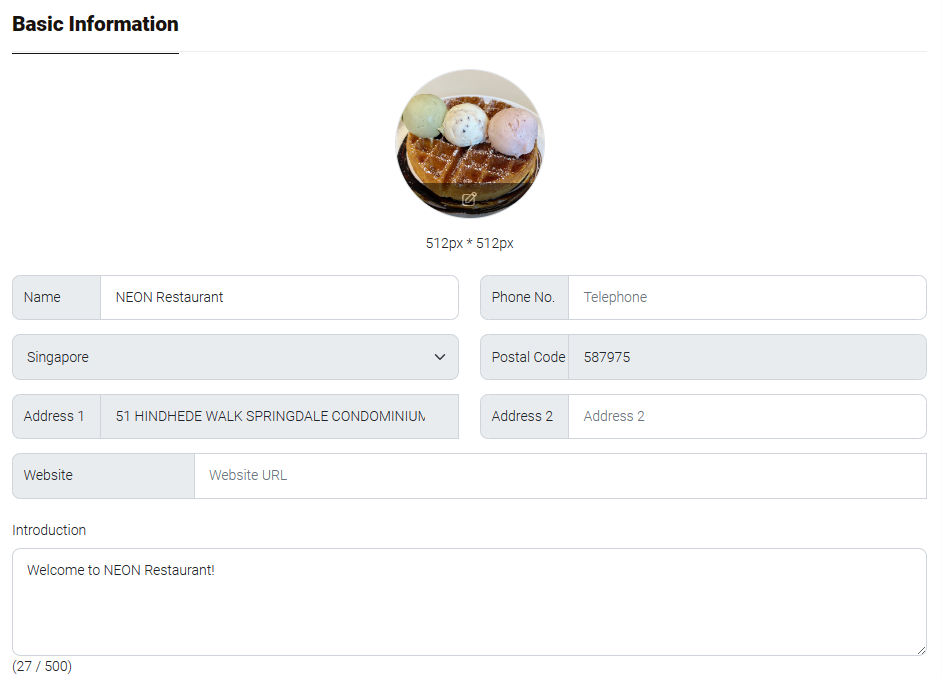
Also, don’t forget to upload your restaurant logo.
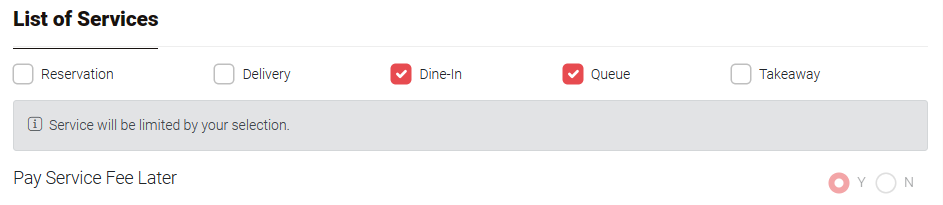
[4] In List of Services section, choose services you will provide. This will be shown on your restaurant page to inform customers.
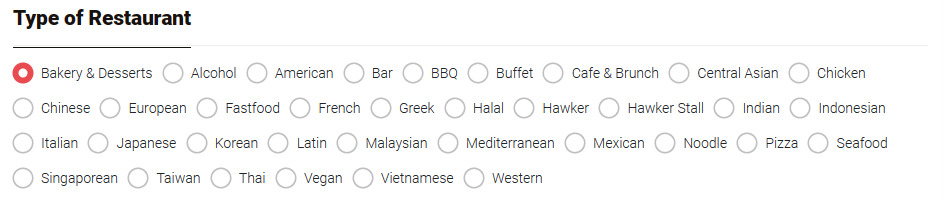
[5] Choose your restaurant’s specialty in Type of Restaurant section.
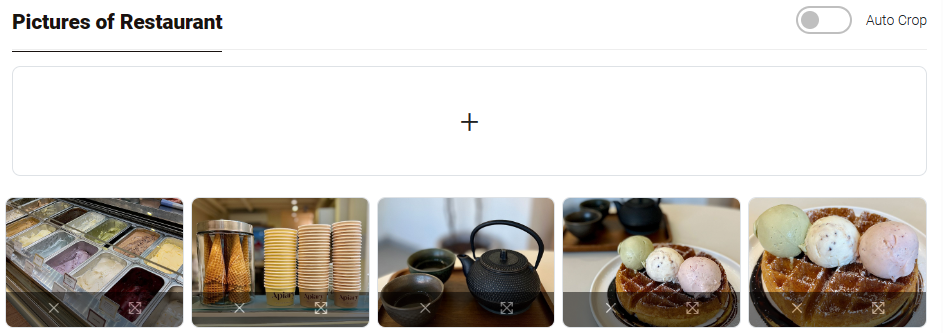
[6] You can upload additional photos in Pictures of Restaurant section to appeal to your customers.
[7] Tag section allows you to add some tags that best describes your specialties. It will help you to reach to potential customers easily.
[8] Be sure to click  Save before close the window.
Last updated: 09-Jun-2023