Personalize notification messages
![]() [1] Go to
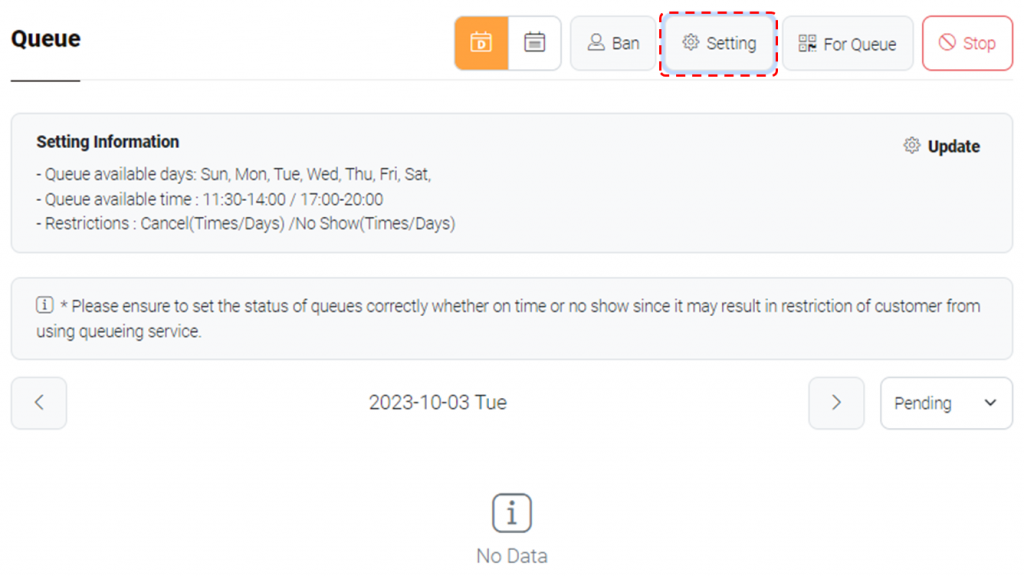
[1] Go to  Queue module.
[2] Click  Setting> Update .
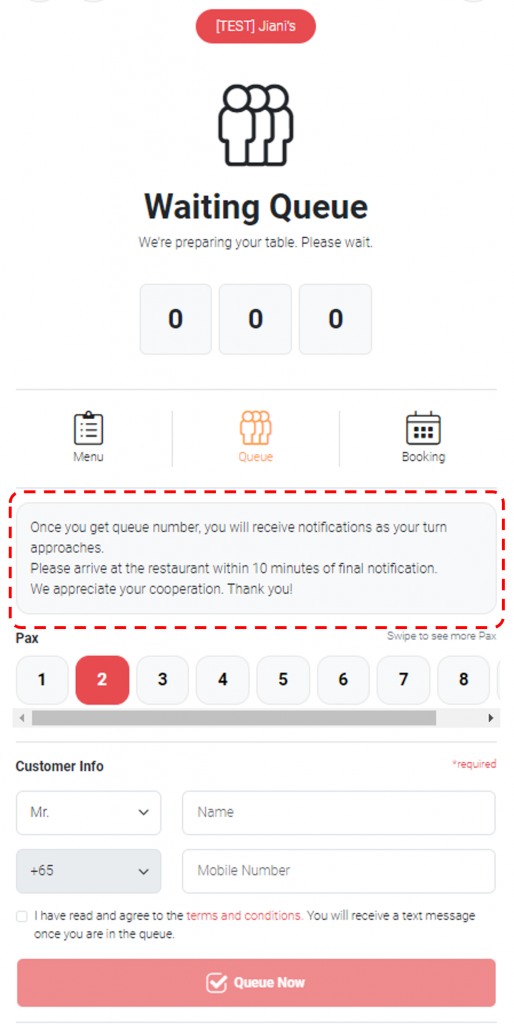
[3] Scroll down to the section titled ‘Create a message for customers using queueing service‘. It can function as a bulletin board to explain queue policy or guidelines.
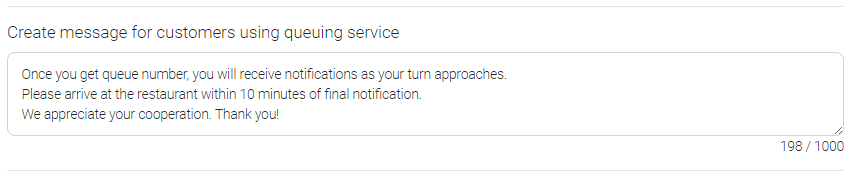
Note: View for customers.
[4] Choose number of messages to be sent.

Note: 1st and final (3rd) messages are mandatory. Users can choose whether to send additional messages between 1st and final messages.
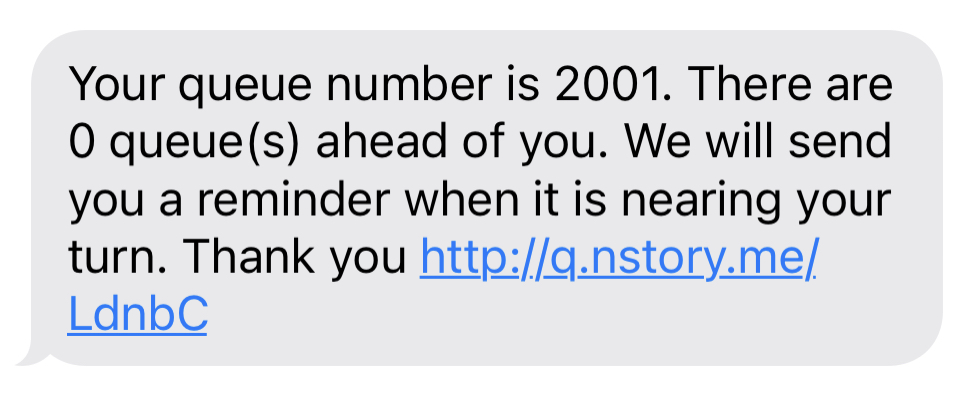
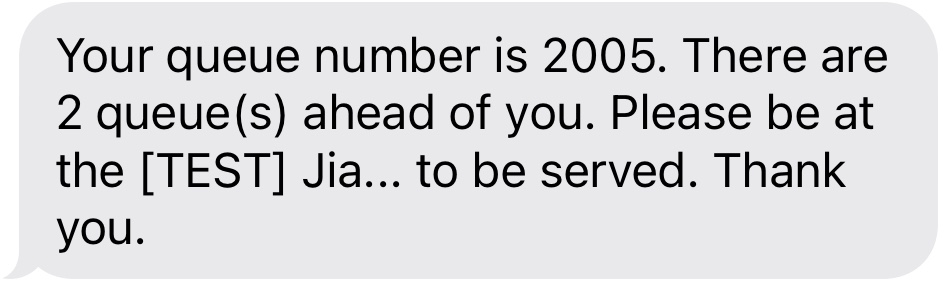
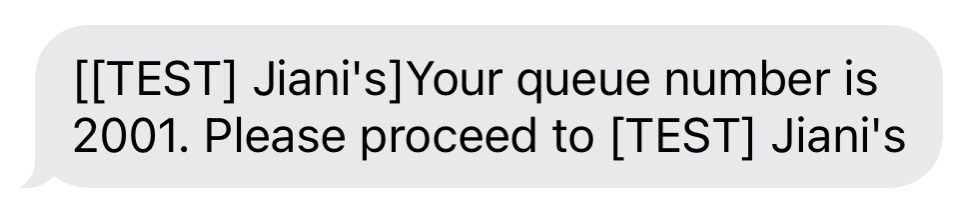
[5] Edit the final (3rd) message template as you wish. Click ‘Store Name’ or ‘Queue Number’ to add in the text.
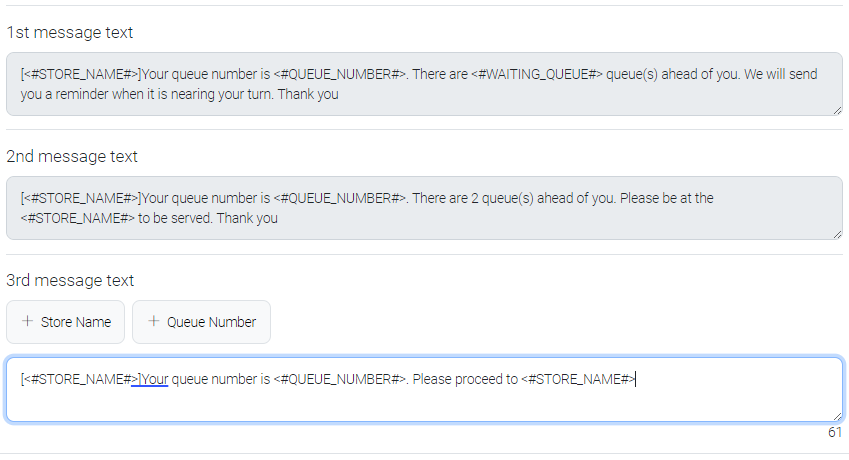
Note: Message templates for 1st and 2nd messages are fixed. Users only can change the final (3rd) message.
Note: An additional charge will be applied if the text length exceeds 140.
Note: 1st, 2nd, 3rd Message View for customers. (In Order)
Last updated on 03-Oct-2023