Enable Queue and setup basics
 Why do you need Queue?
NEON’s queue feature can significantly enhance your restaurant operations. Here are the key points:
- Reduce waiting time: NEON’s queue feature allows your customers to join a virtual line and they no longer need to physically wait at the entrance of restaurant.
- Enhance customer experience: NEON’s queue feature, customers can check their queue status online and plan what to do in the meantime.
- Smooth operation: Queue feature gives you a clear picture of how many customers are waiting and manage seating in your restaurant.
Activate Queue
[1] Go to Queue  module.
[2] Click Start.

[3] Ensure Queue is activated by the Queue icon.
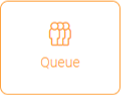
Queue feature is active
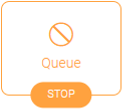
Queue feature is inactive
Setup basics
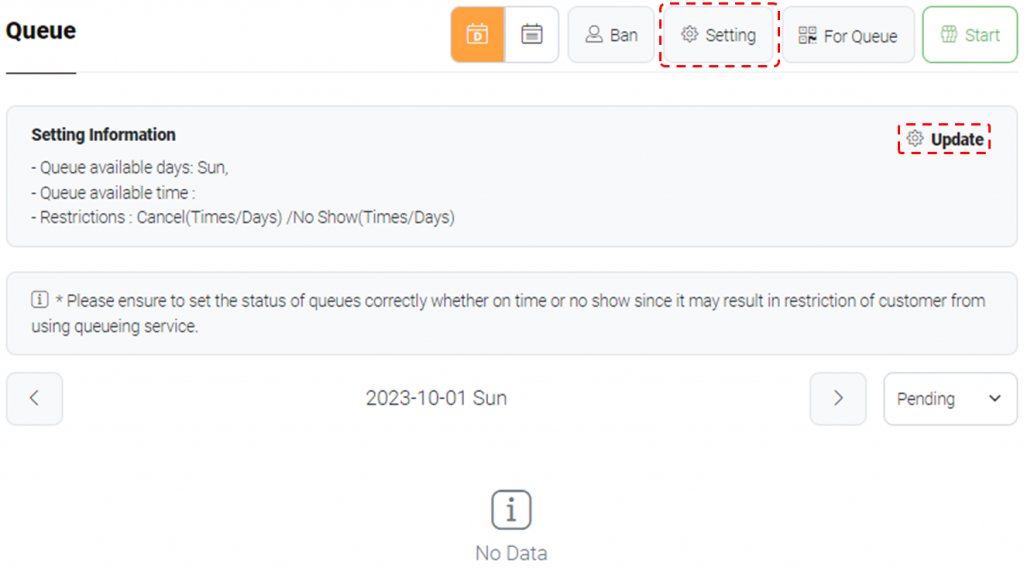
[1] Click  Setting and Update.
[2] Scroll down to locate Select days to open queuing service. Choose days to use queue feature.

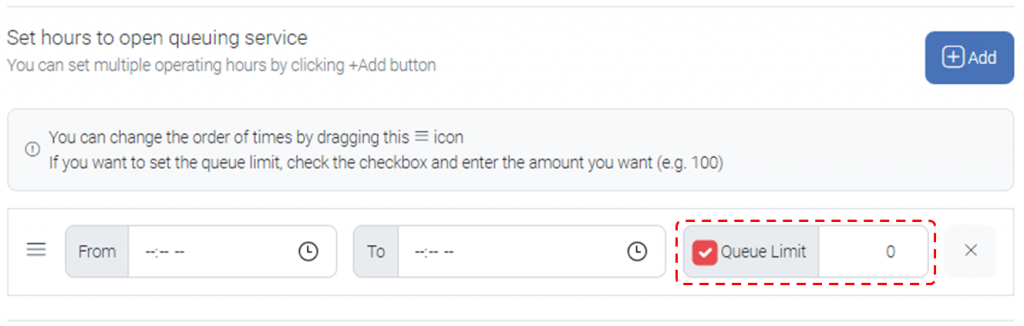
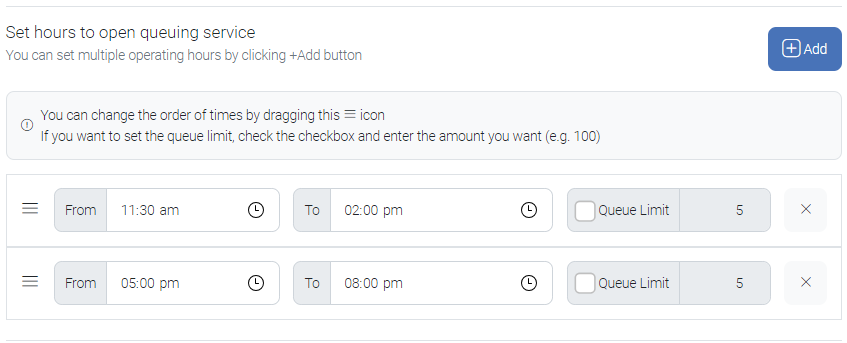
[3] At Set hours to open queuing service, click Add and set time.
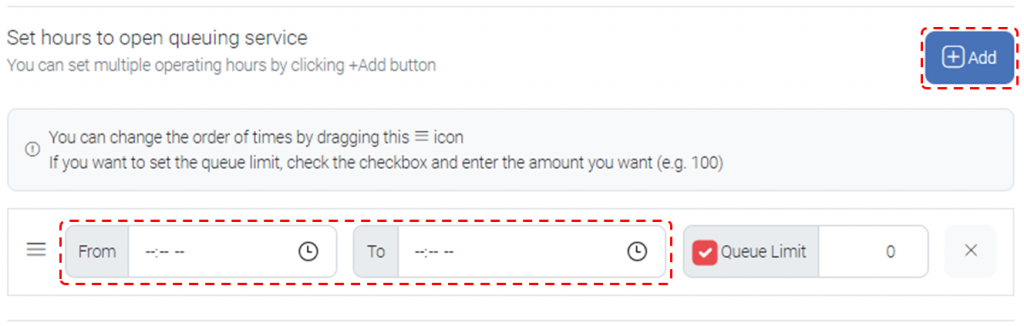
[4] Consider to set Queue Limit. This option is useful when you want to control total number of queues distributed to customers.
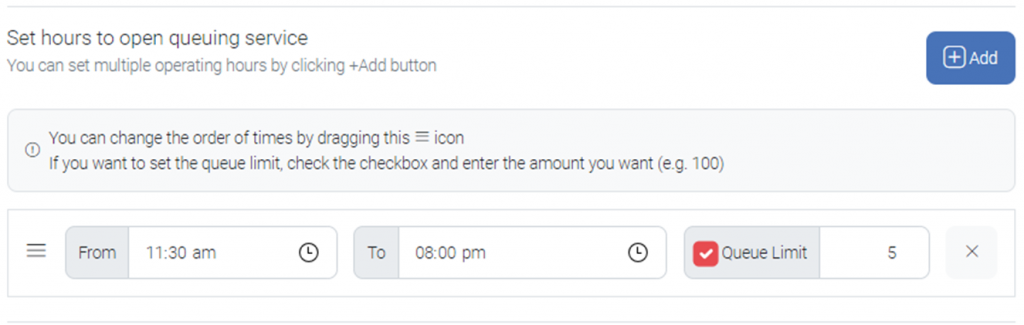
Example. Below is an example when you want to use Queue from 11:30 AM to 8:00 PM, with Queue Limit of 5.
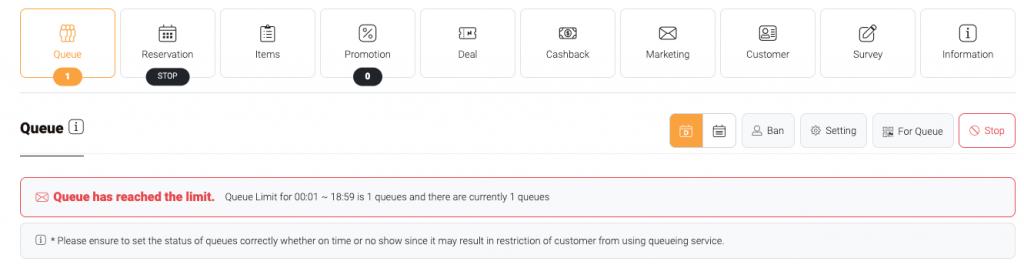
Note: When the queue limit is reached, the below message appears on the CMS page.
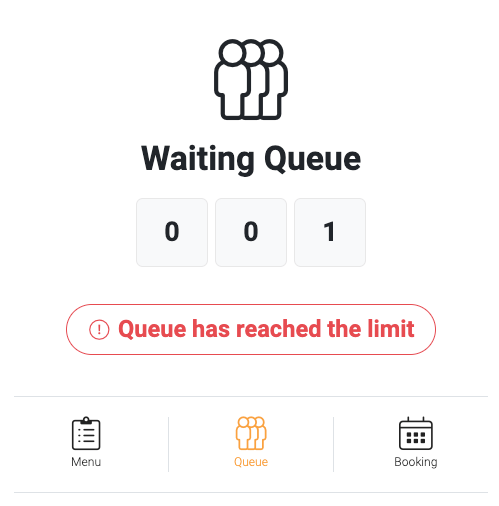
Note: When the queue limit is reached, the below message appears on the My Store page.
[5] Consider to add additional time range by clicking  Add. This is useful if you have break time. When operating time is from 11:30 am to 08:00 pm and break time is between 14:00 and 17:00, you can separate two time ranges (11:30 am to 14:00 pm and 05:00 pm to 08:00 pm.
[6] You are all set to get queues from customers.
Last updated 06-Nov-2023

One Reply to “Enable Queue and setup basics”